
Drive away with green broad beans and ricotta
first courses from China
Grilled Chinese ravioli!
Grilled Chinese ravioli!
ready in
1 hour
difficulty
daily requirement
100% Fat
100% Protein
100% Carbohydrates
translated by
Italian
with 
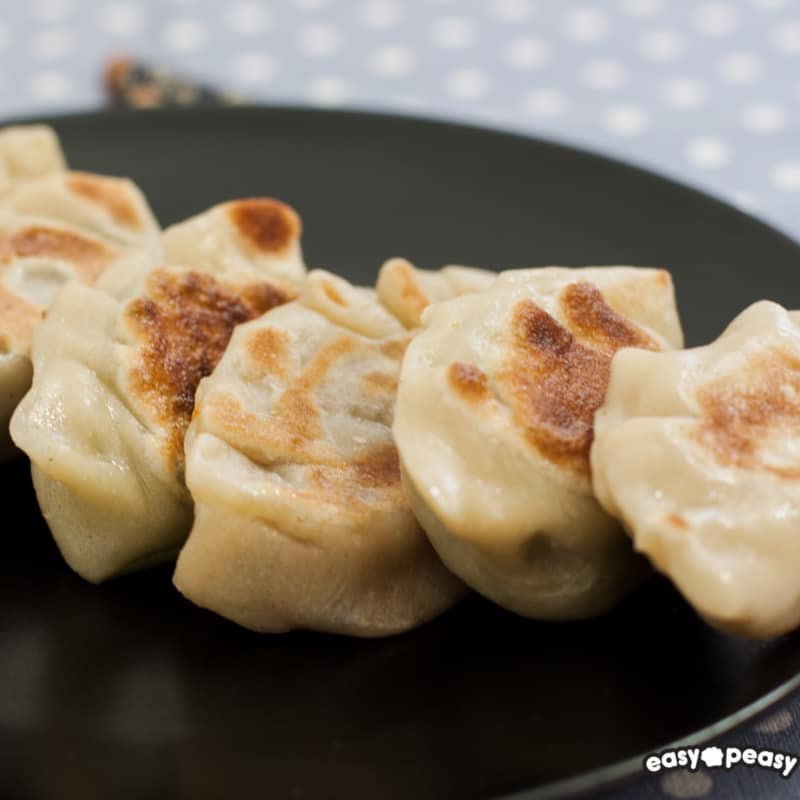
Grilled Chinese ravioli, homemade from the stuffing to the shell! Prepare the soy sauce!
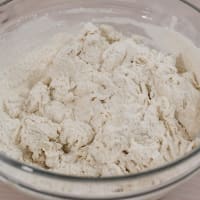
First we take care of the pasta. We place the flour and the pinch of salt in a large bowl. Weigh the water and add 2/3 of the total to the flour. Helping with a fork, we begin to stir the mixture, making the water absorb the flour.
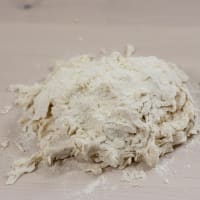
We add water a little at a time, moving then on the work surface to knead with our hands.
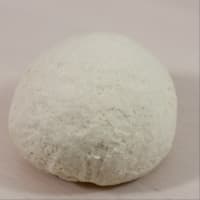
We add as much water as necessary to obtain a soft and firm dough, which reminds the consistency of the egg pasta. We wrap it in the transparent film and let it rest at room temperature for 30 minutes.

Now let's take care of the stuffing. In a small bowl, beat the egg with the soy sauce, while we heat a small saucepan over low heat. Bake for about 30 seconds, before breaking the omelette, creating almost scrambled eggs. For convenience, I used chopsticks.
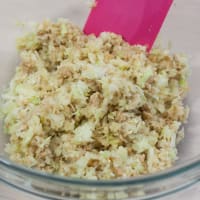
Whisk the cabbage cut into chunks and add to this the omelette, stirring everything in a bowl.

Resume the dough and portion it, covering what we do not use with the film to prevent it from drying out. We can roll it out with a rolling pin, I prefer to use the pasta machine. We stretch it thin, if you use the car you arrive up to the penultimate notch.
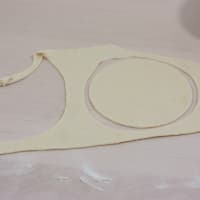
We cut the circles with the coppapasta with a diameter of 9 cm. If desired, they can be prepared, placed on a tray and stored in the freezer, taking care not to keep them in contact. Multiple layers can be created, interspersed with parchment paper.
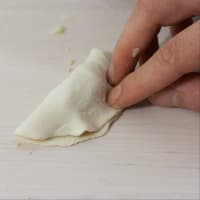
Place a teaspoon of filling in the center of the circle, wetting the edges with a brush and some water. We close to form a crescent, before pinching the dough to recreate the classic shape. I thank my him who helped me in the demonstration!
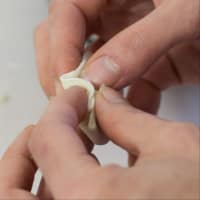
Pizzico the pasta, creating a small wave that we close by pressing with your fingers.

Heat a tablespoon of oil in the non-stick pan and arrange the ravioli, making them brown for good.

We turn them over, let it cook for 40 seconds before adding a tablespoon of water, closing immediately with the lid, doing so will close inside the steam that will cook the ravioli completely.

Serve hot with soy sauce to accompany them!

