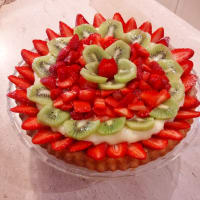
Fruit pie
Desserts from Italy
The spotted leaf
The spotted leaf
ready in
24 hours
difficulty
daily requirement
100% Fat
100% Protein
100% Carbohydrates
translated by
Italian
with 

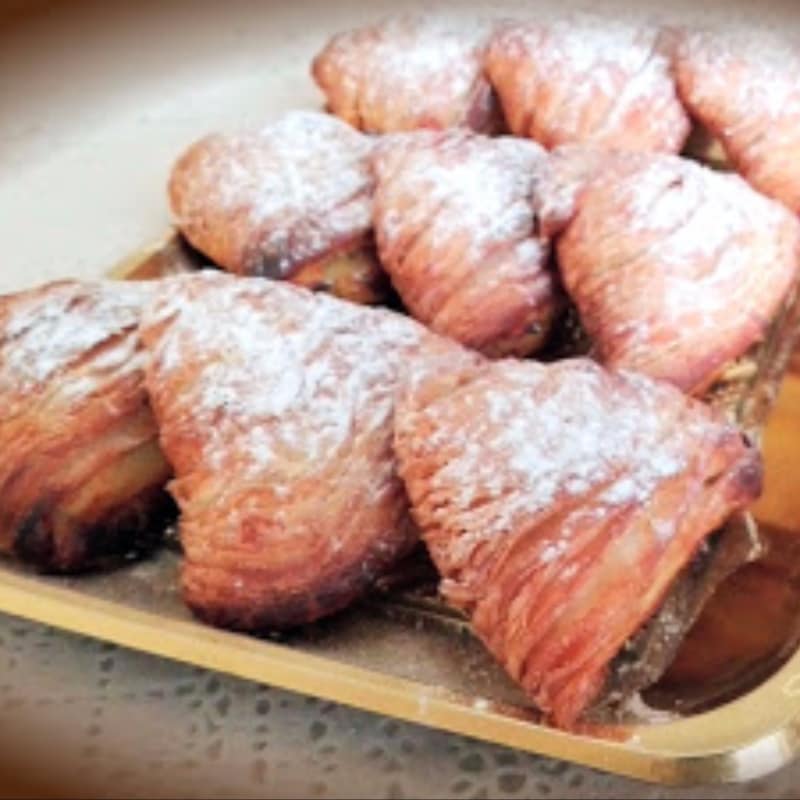
Neapolitan emblem in the world, this recipe could certainly not be missing in my collection.

Let's start by putting salt and honey in the bowl of the machine.

Let's melt the salt and the honey and add the whole flour.

The dough will be rather tough and will work hard, but once created to remove it from the machine, you should not develop excessively gluten.

Let's get the dough to rest for a few hours covered, better still all night in the fridge.

We extract the dough from the fridge and dust the work surface with little flour.

With a roller shutter we extend to the thickness of a few millimeters possibly in rectangular shape.

We pound 100g of lard on the whole surface by holding a finger from the edges.

Fold the edges on the stump so as to form a rectangle as smooth as possible.

Let's go back to the booklet, always trying to keep us as close to the shape of a perfect rectangle.

With the rolling pin we put the rectangle of dough on the longer side.

Let's make a three-fold bend to the center.

And folding over the other piece of pasta.

We pack the leaf into the film and let it rest in the fridge for at least an hour. If we leave her more is even better.

We remove the packet from the fridge, put very little flour on the table.

Let's start rolling the dough with the rolling pin on the long side until it becomes too nervous to stretch it over. Let's rest for at least 10 minutes.

We continue to stretch as long as it is possible to do another 10 minutes of rest.

I came to the edge of the table and stopped because the pasta was really too thin to think about stretching it again.

Now we wrap the pasta around the rolling pin and suspend it over something. For example, flour or cans bags as in my case.

We lavishly laugh the table with melted lard.

We make the pasta from the rolling pin and put it on the lard. Then we also spray the exposed surface with melted lard.

We begin to form the roll by wrapping the dough on itself. It is not easy to tighten the pasta rolls in these early stages.

After rolling up the littered part, we continue to grind the table, let us put another pasta over, weigh it and continue to roll it. This will be easier to pull and roll together

We will continue until rolling all the dough, finally getting the whole roll.

Sprinkle the lump roll and wrap it in the food film.

Let's put in the refrigerator overnight to rest. It is to be said that with this roll size, the fliers we get will not be huge.

If we wanted to make them bigger, we could always make another pie of old pasta and add it to the roll. It does not seem to me that way, but do vobis.

The next day we pull the roll out of the fridge and release it from the film. We remove the two ends and begin to cut slices of the thickness of a finger that is just over a centimeter.

Complete the slicing of the slices and put them on a tray or baking tray. Cover them and put them back in the fridge to rest.

Let's milk together with water in a pot on a flame.

We bring it to the boil and then add the spring semolina.

We lower the flame and let it dry for five minutes. Then let the semolina cool.

Let's set the ricotta cheese and add the sugar. Mix in order to form a soft creme.

Add all the flavors to the egg and bake it a little without mounting. Let's put the cold semolina in a container, I used the planetarium but it is not indispensable.

Add the egg with the aromas and mix. We also add the cottage cheese ricotta. Finally candied fruit cubes.

Once the filling is done, we put it in contact with the refrigerator for a few hours so that all the flavors mingle well with each other.

After having your hands limp with the lips, push the center of the cap with the thumbs up, as if forming a bell, while the indexes push downwards to distract the overlapping lamellae.

As you do this, you also rotate the cap and continue until it reaches the thickness of a few millimeters, avoiding that the pasta tears.

Fill each batch with a generous dose of filling, but without exaggerating too much and finally we pinch the outer shells of the shell on the filling.

The cooking is done in a preheated oven at a temperature of 250 °, even with a ventilated function, for a time of about twenty minutes.

The criterion is cmq to get a nice smooth gilding of the flippers.

